
You want to learn mobile photography, but you are not sure where to start, then this article is only for you. This article will answer your question, How to get started in photography.
A lot of amateur photographers make the mistake of purchasing a high-end DSLR camera and its various kits, without knowing the basics of photography. One should always start with camera phone photography, learn some basic concept and then switch to DSLR if you want to.
Quick Navigation
1. What are the features of phone camera?
2. Photo modes in your phone
3. How to use manual mode in mobile camera ?

1. What are the features of phone camera?
In order to learn Camera Phone Photography, first, you need to know about all the features of your phone cam.
These days phone camera offers plenty of features. Let’s see, one by one what these features stand for.

Selfie Mode
Google Image Search
Back Camera Mode
Video mode
HDR mode
Camera Flash
Timer
Auto mode
Camera set in auto mode, allows your phone sensors to automatically adjust shutter speed, white balance, exposure, etc. In this mode, your phone decides what settings are best for your photo.
2. Photo modes in your phone

Portrait Mode
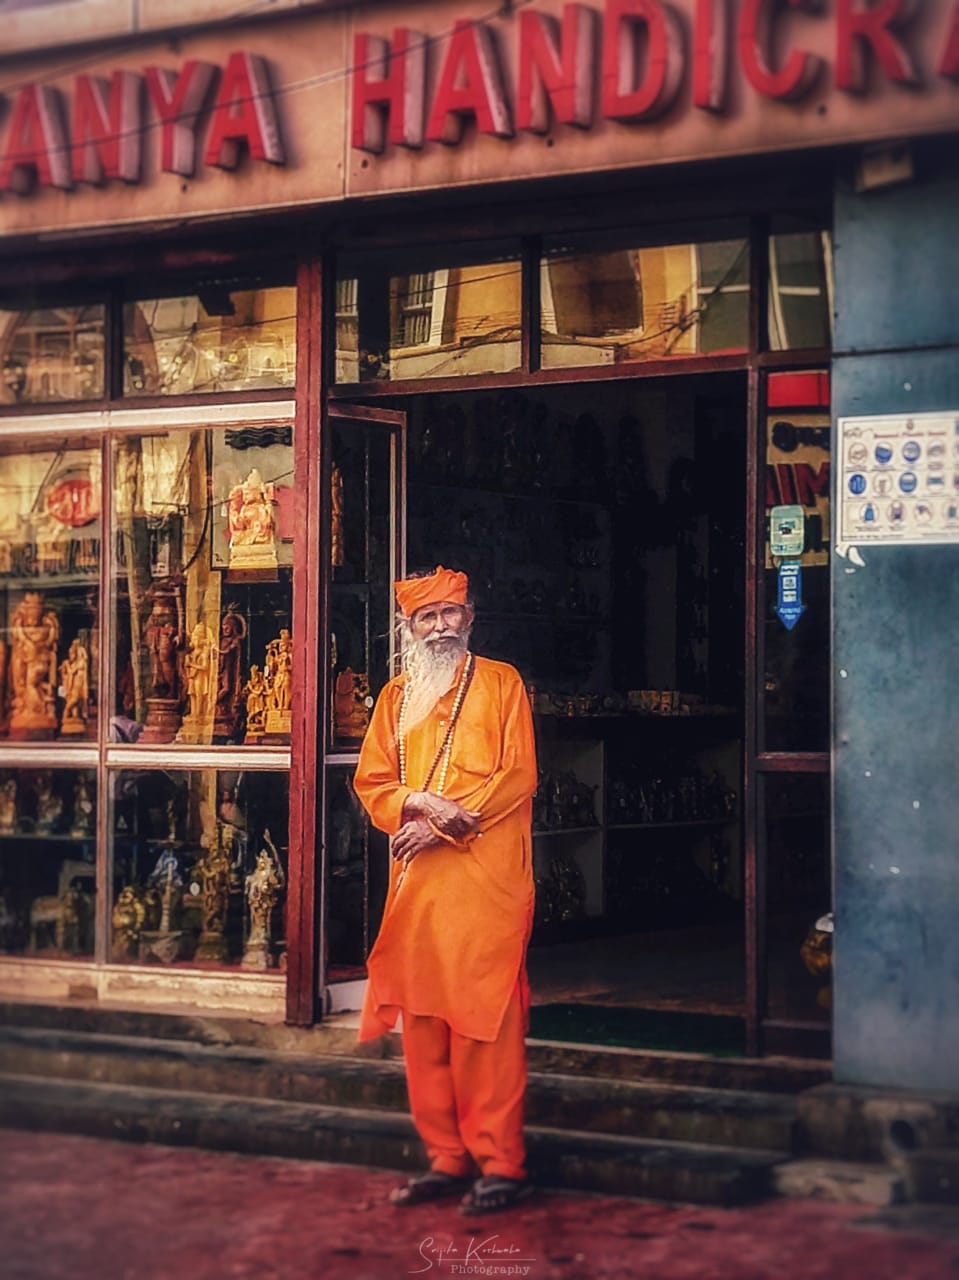 |
| Portrait Photo by Srijita |
Cutout Mode
 |
| Cutout Photo by Srijita |
Spot Color Mode
 |
| Spot Color Effect by Srijita |
Panorama Mode
 |
| Panorama Photo by David Jakab |
This mode combines multiple shots into a single photograph. This mode can be used while clicking a landscape that cannot be captured in a single shot. All you have to do is to take multiple shots of the same subject from one corner to another. Finally, your phone will process these images into one single image.
Face filter Mode
In this mode, your phone will apply funny filters like bunny ears, devil’s horn, fancy goggles, etc on your face while clicking the photo.
3. How to use manual mode in mobile camera
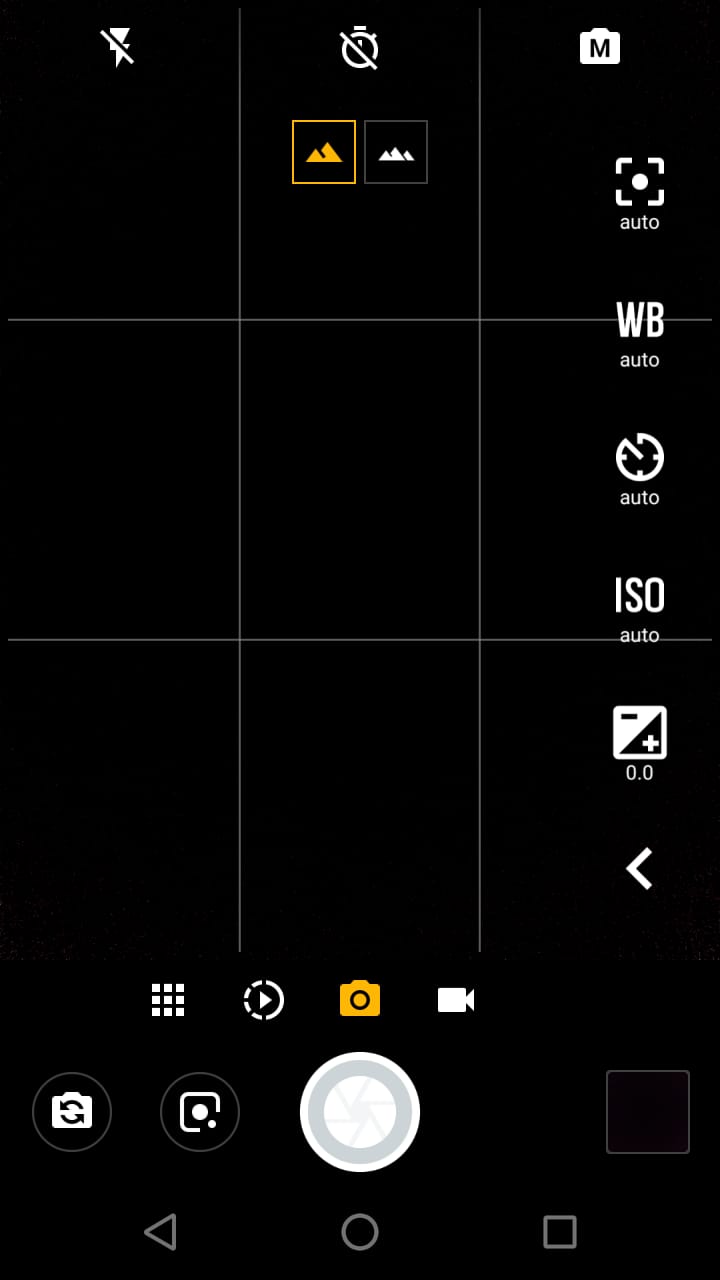

Manual Focus
The name is pretty obvious. This setting is used to select a focal point for your image, manually. The focal point is the point where the image is most clear in the photo. In technical terms, when 2 rays of parallel light which pass from your camera lens bends and meets each other, that point is known as the focal point. Any subject that will be kept at this point will look clear while its surrounding will be little blurred.
You may adjust the focal point by pointing your phone on a certain subject and then drag the pointer left and right.
 |
|
Both background & hand are in focus
|
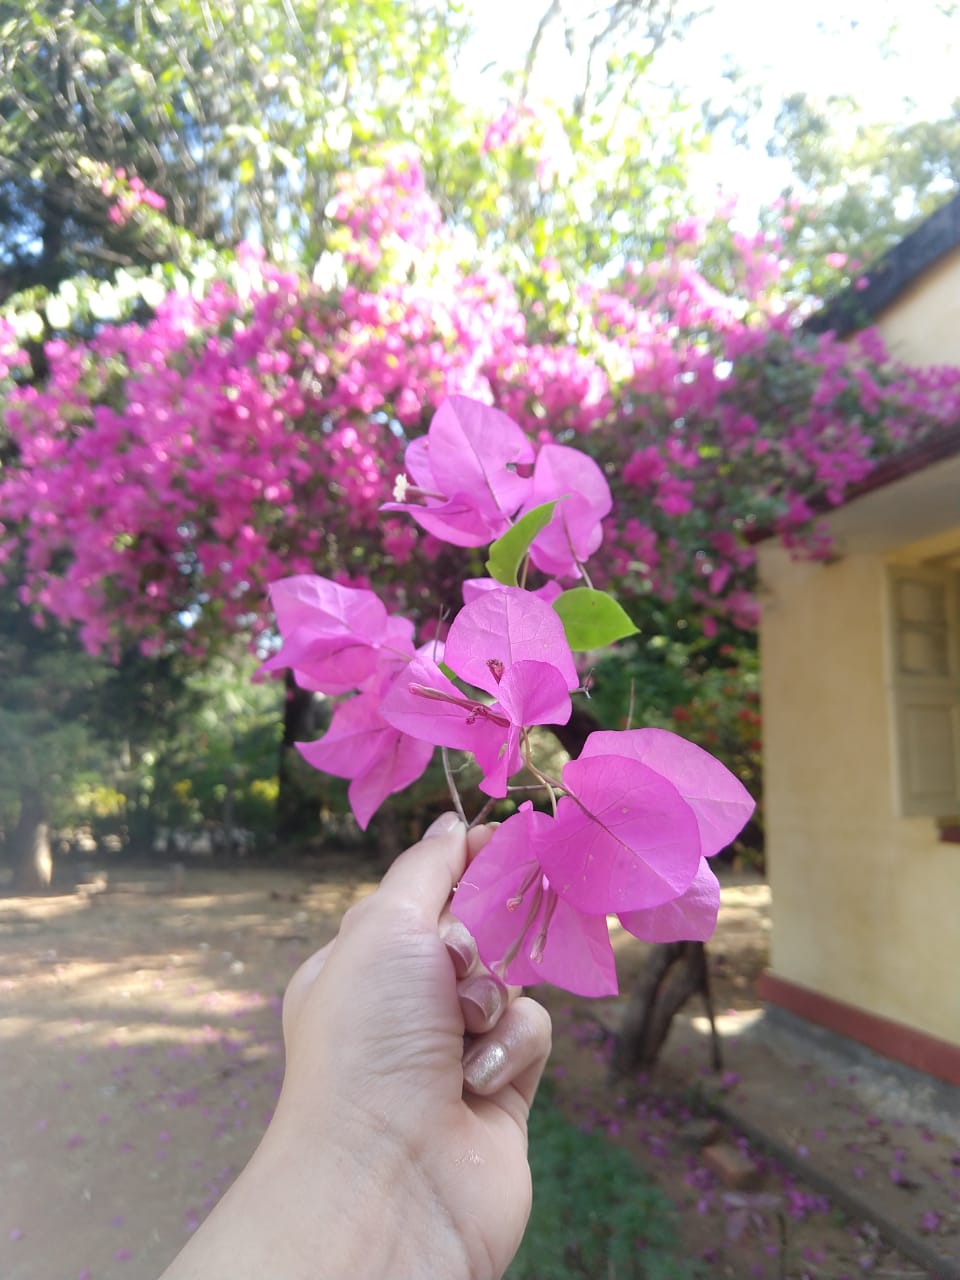 |
| The background is blur, the focus is on the hand |
To click a portrait image(single subject) with a blurred background, drag the pointer towards the left, while to click a multi-element photo like a landscape, drag the pointer towards the right.
White Balance
 |
| Sample Photo to demonstrate white balance by Kate Veronica |
Shutter Speed
ISO
ISO is the measure of the sensitivity of the image sensor in your camera.
 |
|
ISO 100
|
 |
| ISO 3200 |
Higher the ISO number means image sensor is more sensitive to light. This is ideal for night time photography when the light is really less. While Lower ISO number means the sensor is less sensitive to the light.
Exposure
Exposure is the amount of light per unit area reaching the digital sensor of the camera.
A more exposed image is really bright, while a less exposed image is comparatively darker.
Combing this knowledge, you may capture a perfect picture using your phone camera.
Kindly share if you like this post. Drop a comment for any feedbacks and queries.
Some photos that are used in this article are taken from other resources and use of these images are merely for the educational purpose. No copyright infringement intended.
Relevant search related to this article:
How to get started in photography,mobile photography ideas, mobile photography photos,camera phone photography,creative smartphone photography,cell phone photography lesson plans, mobile photography accessories, mobile photography android, mobile photography blog, mobile photography apps, android photography, best photos taken with mobile phones, camera phone photography, android mobile photography tips, mobile photography accessories, how to be a good photographer with a phone,smartphone smart photography, smartphone photography blog
–>


Nice Post!
I am having so many mobile photos but want to learn photo editing using a phone. Please write an article about photo editing using a mobile phone.
[…] Sriji 15 April 201930 June 2023 Everyone is having smartphones these days and all of us use it for taking pictures, talking, messaging, and a hundred other things. […]
[…] is having smartphones these days and all of us use it for taking pictures, talking, messaging, and a hundred other things. […]
[…] Sriji 4 May 201925 September 2023 In the era where mobile phone photography is in a boom and everyone is clicking and posting photos to make their presence on social media, […]
[…] Quick Guide To Mobile Photography […]